When disaster strikes—be it a power outage, a storm, or something more serious—the ability to cook without electricity becomes more than a convenience; it becomes a necessity. That’s where a DIY rocket stove can be a true lifesaver. It’s the kind of project that doesn’t require a workshop or years of prepping experience—just a few basic materials, a bit of patience, and the desire to take care of yourself and your loved ones. Whether you’re into self-reliance or just want to be ready for the unexpected, building one of these little stoves is a smart and empowering move.
What Is a Rocket Stove—and Why Should You Care?
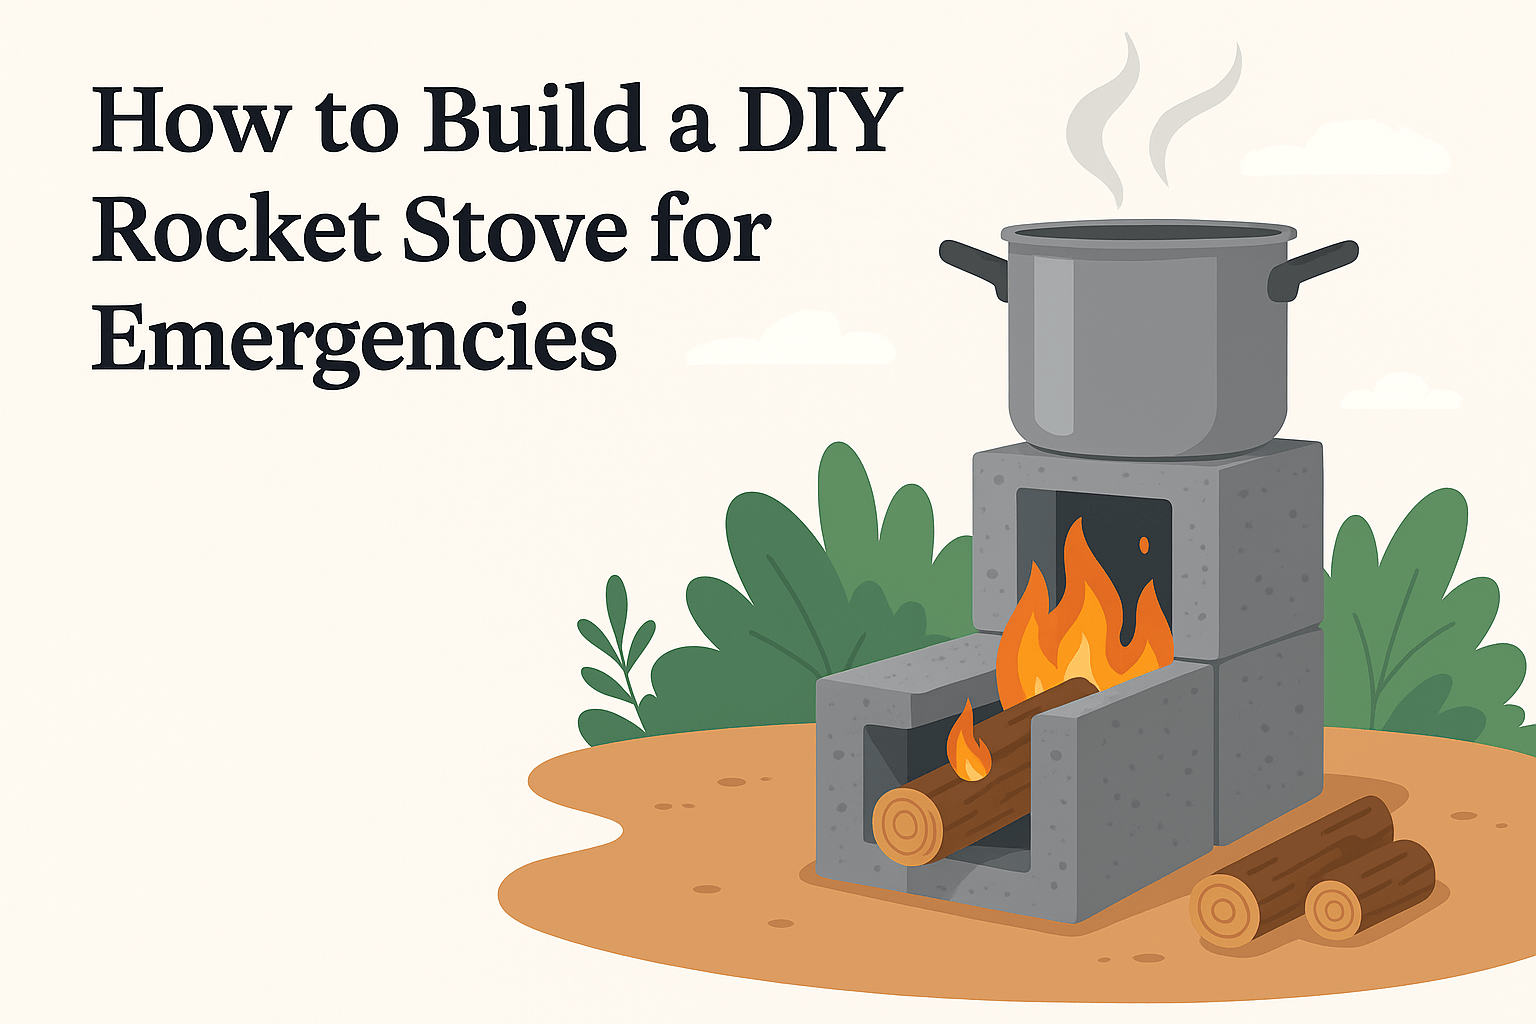
So what exactly is a rocket stove? Think of it as a compact, super-efficient outdoor cooker that runs on small sticks, twigs, or even dry leaves. The clever L-shaped design channels heat directly where it’s needed—under your pot or pan—so nothing is wasted. Unlike a campfire, it burns hot and clean with very little smoke, which is ideal during emergencies when stealth and efficiency count. The best part? You can build a DIY rocket stove using things you probably already have in your garage or recycling bin. It’s simple, resourceful, and works like a charm.
What You’ll Need (You Probably Have It Already)
You don’t need to be an engineer to pull this off. A few metal cans—like a large coffee can and two or three soup cans—will do the trick. Tin snips or a sturdy pair of scissors, a hammer, and some insulation like ash, sand, or even dirt will round out your toolkit. This isn’t some intimidating weekend project. It’s more like a grown-up version of a science fair experiment, but with real-world impact. You can also substitute bricks or cinder blocks if you want something more permanent for the backyard or campsite.
Step-by-Step: How to Build Your DIY Rocket Stove
Ready to get your hands a little dirty? Here’s how it goes:
- Cut a hole near the bottom of your large can to insert a smaller can sideways—this becomes your fuel feed.
- Stack another can vertically inside to form the chimney.
- Pack insulation around the inner can to trap heat.
- Use a sturdy grate or small pot stand on top to hold your cookware.
- Test it outdoors first—always on a non-flammable surface.
That’s it. You’ve got a functional DIY rocket stove that can boil water, cook soup, or heat up a meal, all with a handful of twigs.
Using It Safely (Because Safety Still Matters)
This little stove might be DIY, but it gets hot. Place it on a flat, fire-safe surface like concrete or bricks, and make sure it’s well-ventilated. Use dry wood to avoid excess smoke, and never leave it unattended while burning. You’ll get the hang of feeding it small sticks and maintaining the flame after a couple of practice runs. And in an emergency, that confidence makes a big difference. Think of it as prepping meets peace of mind—because being prepared shouldn’t mean being scared. It should feel empowering.
Why Every Prepared Household Should Have One
Building a DIY rocket stove isn’t just a cool project—it’s a symbol of independence. When you can make a hot meal with a few sticks and some scrap metal, you’re not just surviving; you’re thriving in the face of crisis. Whether you’re prepping for natural disasters, living off-grid, or simply want an eco-friendly backup, a rocket stove adds real value to your emergency kit. Plus, it’s a great way to teach kids about resilience and resourcefulness—skills that matter more than ever in today’s unpredictable world.